Communication
Communications within a Skyve application is where ad-hoc and system email messages are created and edited. New email messages can be created and use data from within the system as the recipient and/or the body of the email. System messages can also be maintained here if notifications need to be updated over time, for example signatures or contact details.
Create and send a new Communication
Prerequisites: Your application has its SMPT settings configured to enable sending email.
The following example will walk through using the built in Communication feature from the admin module to send an email from within a Skyve application. In this example, we will use the Tag feature to select some Contacts as the recipients of the test email.
- Login with a user which has the
ContactManagerorSecurityAdministratorrole -
From the top right hand corner, switch to power user mode if not already in there

- Navigate to the Admin module, and select
Contacts -
From the toolbar Tag dropdown, select
New Tag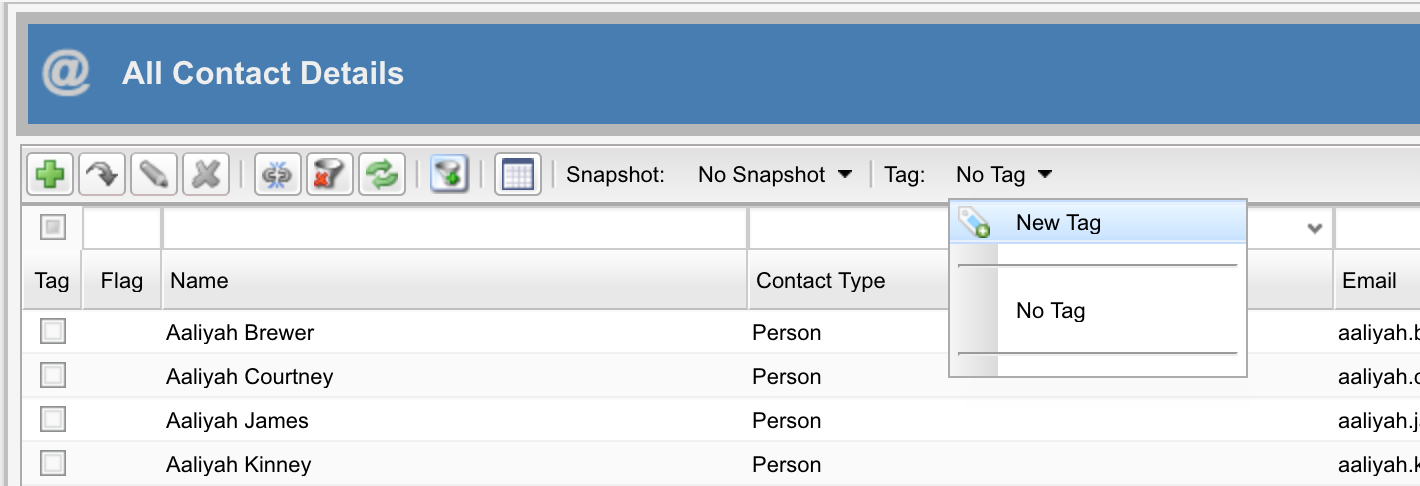
- Name your tag
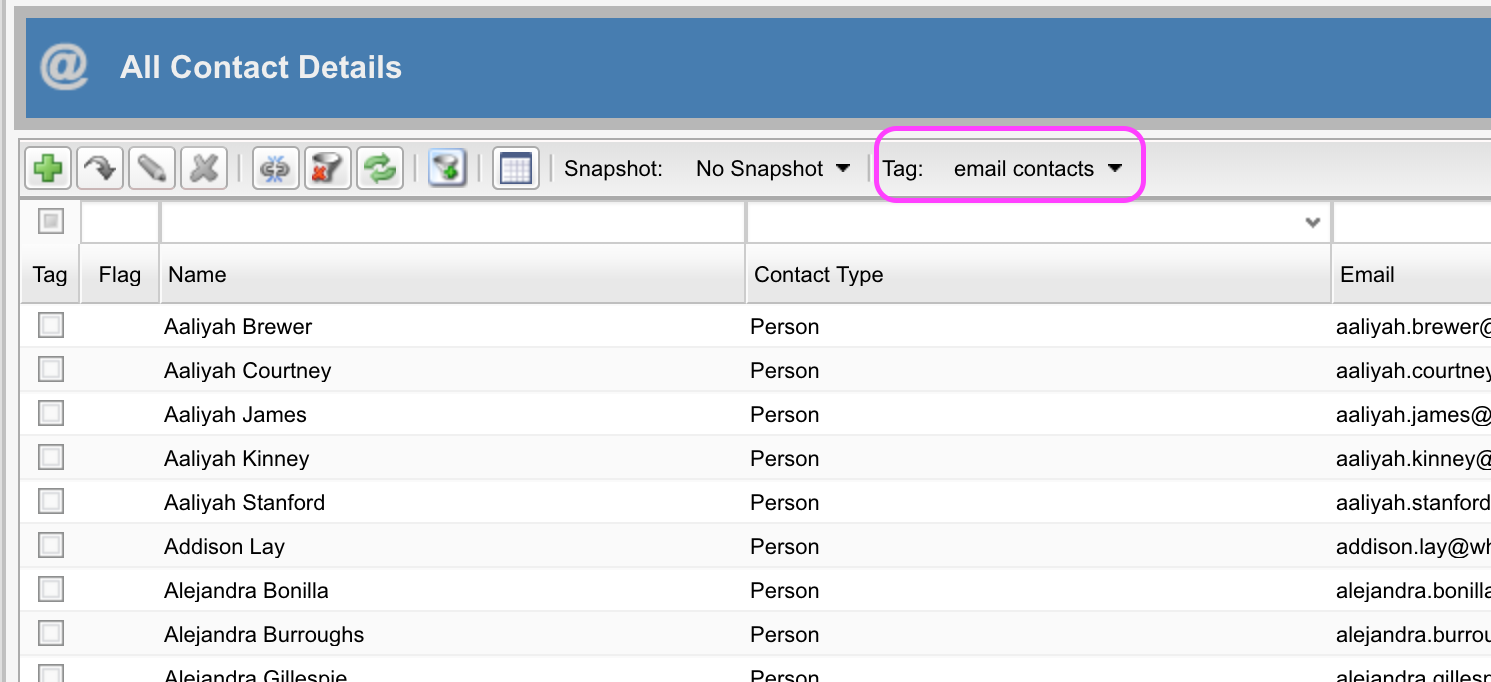
email contacts - Click
OK -
The toolbar now shows we have the new tag active
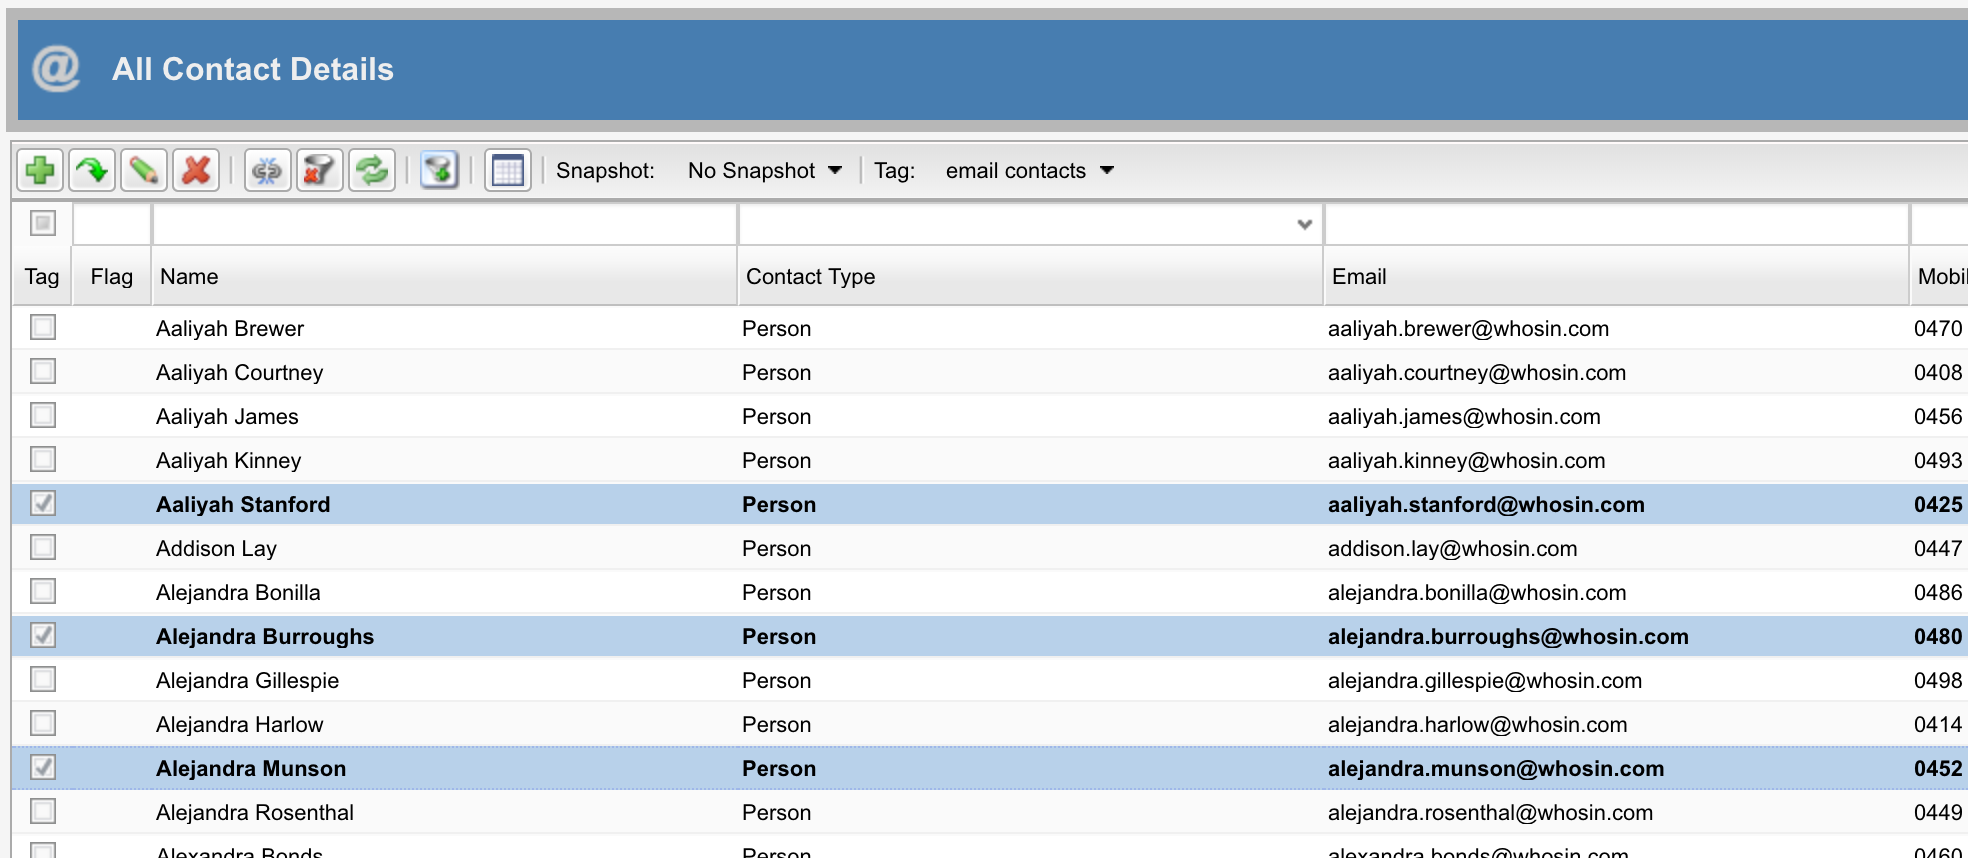
- Tag some contacts by clicking the checkbox next to contacts in the first column (Tag)
-
The tagged contacts will update to be marked in bold
- From the admin menu, select Communication->
Communications - Click the
+symbol to create a new Communication - Enter
test emailinto Description - Select
Adminas the Module from the drop-down - Select
Contactas the Document from the drop-down - Select the tag we just created,
email contacts, from the Tag drop-down - Click
Saveto save your Communication -
Click
Get Countand it should show the number of tagged Contacts in the Reulsts section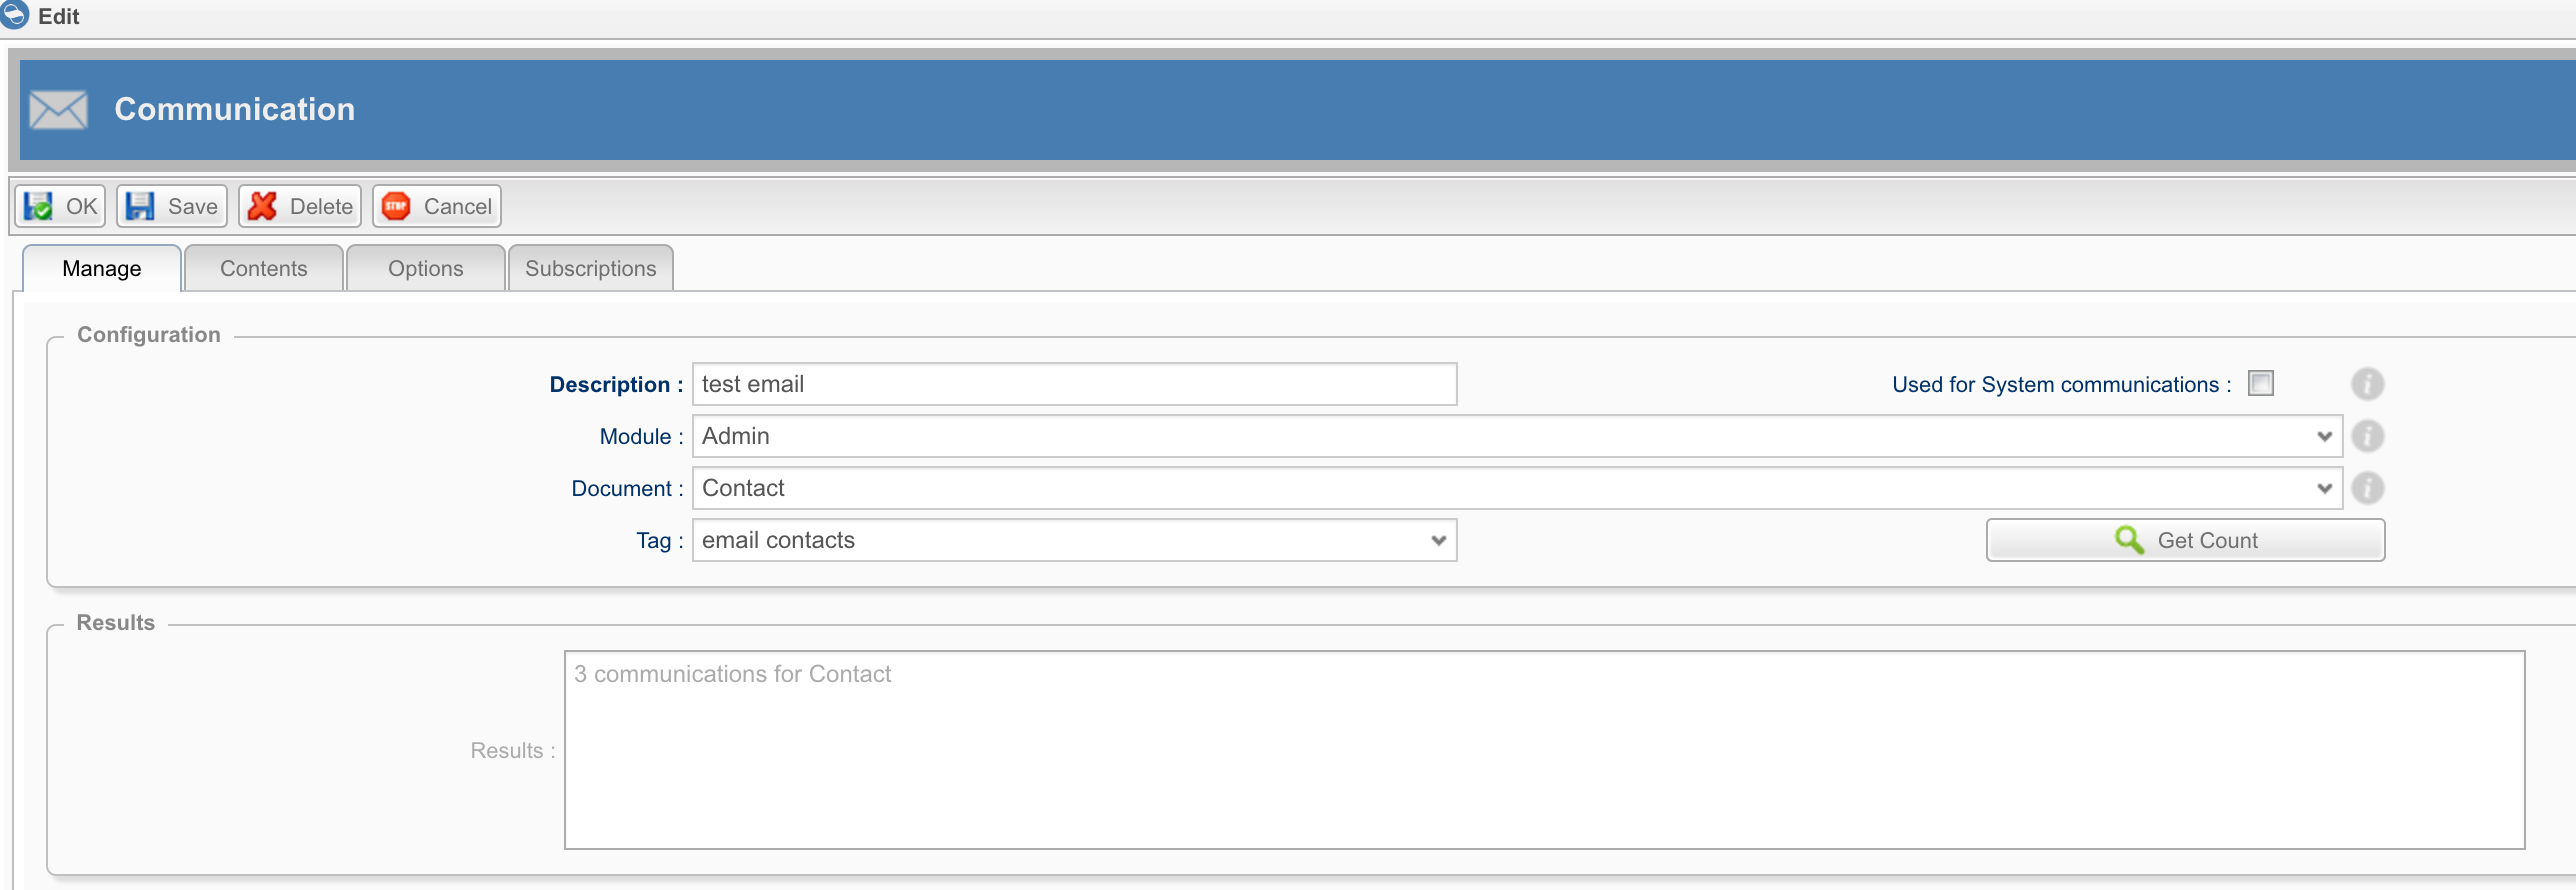
- Select the
Contentstab - In the
To:address, we are going to enter an expression to use a field from the tagged contacts. This operates similarly to a mail merge, and Skyve will substitue the expression value with the contact value for each tagged record. Enter{email1}, which is the name of the contact email address field. - Enter
test emailinto Subject (this can also be an expression) - Click the
Editbutton to the right of Body to open the HTML editor -
Enter some text into the email body and click
Apply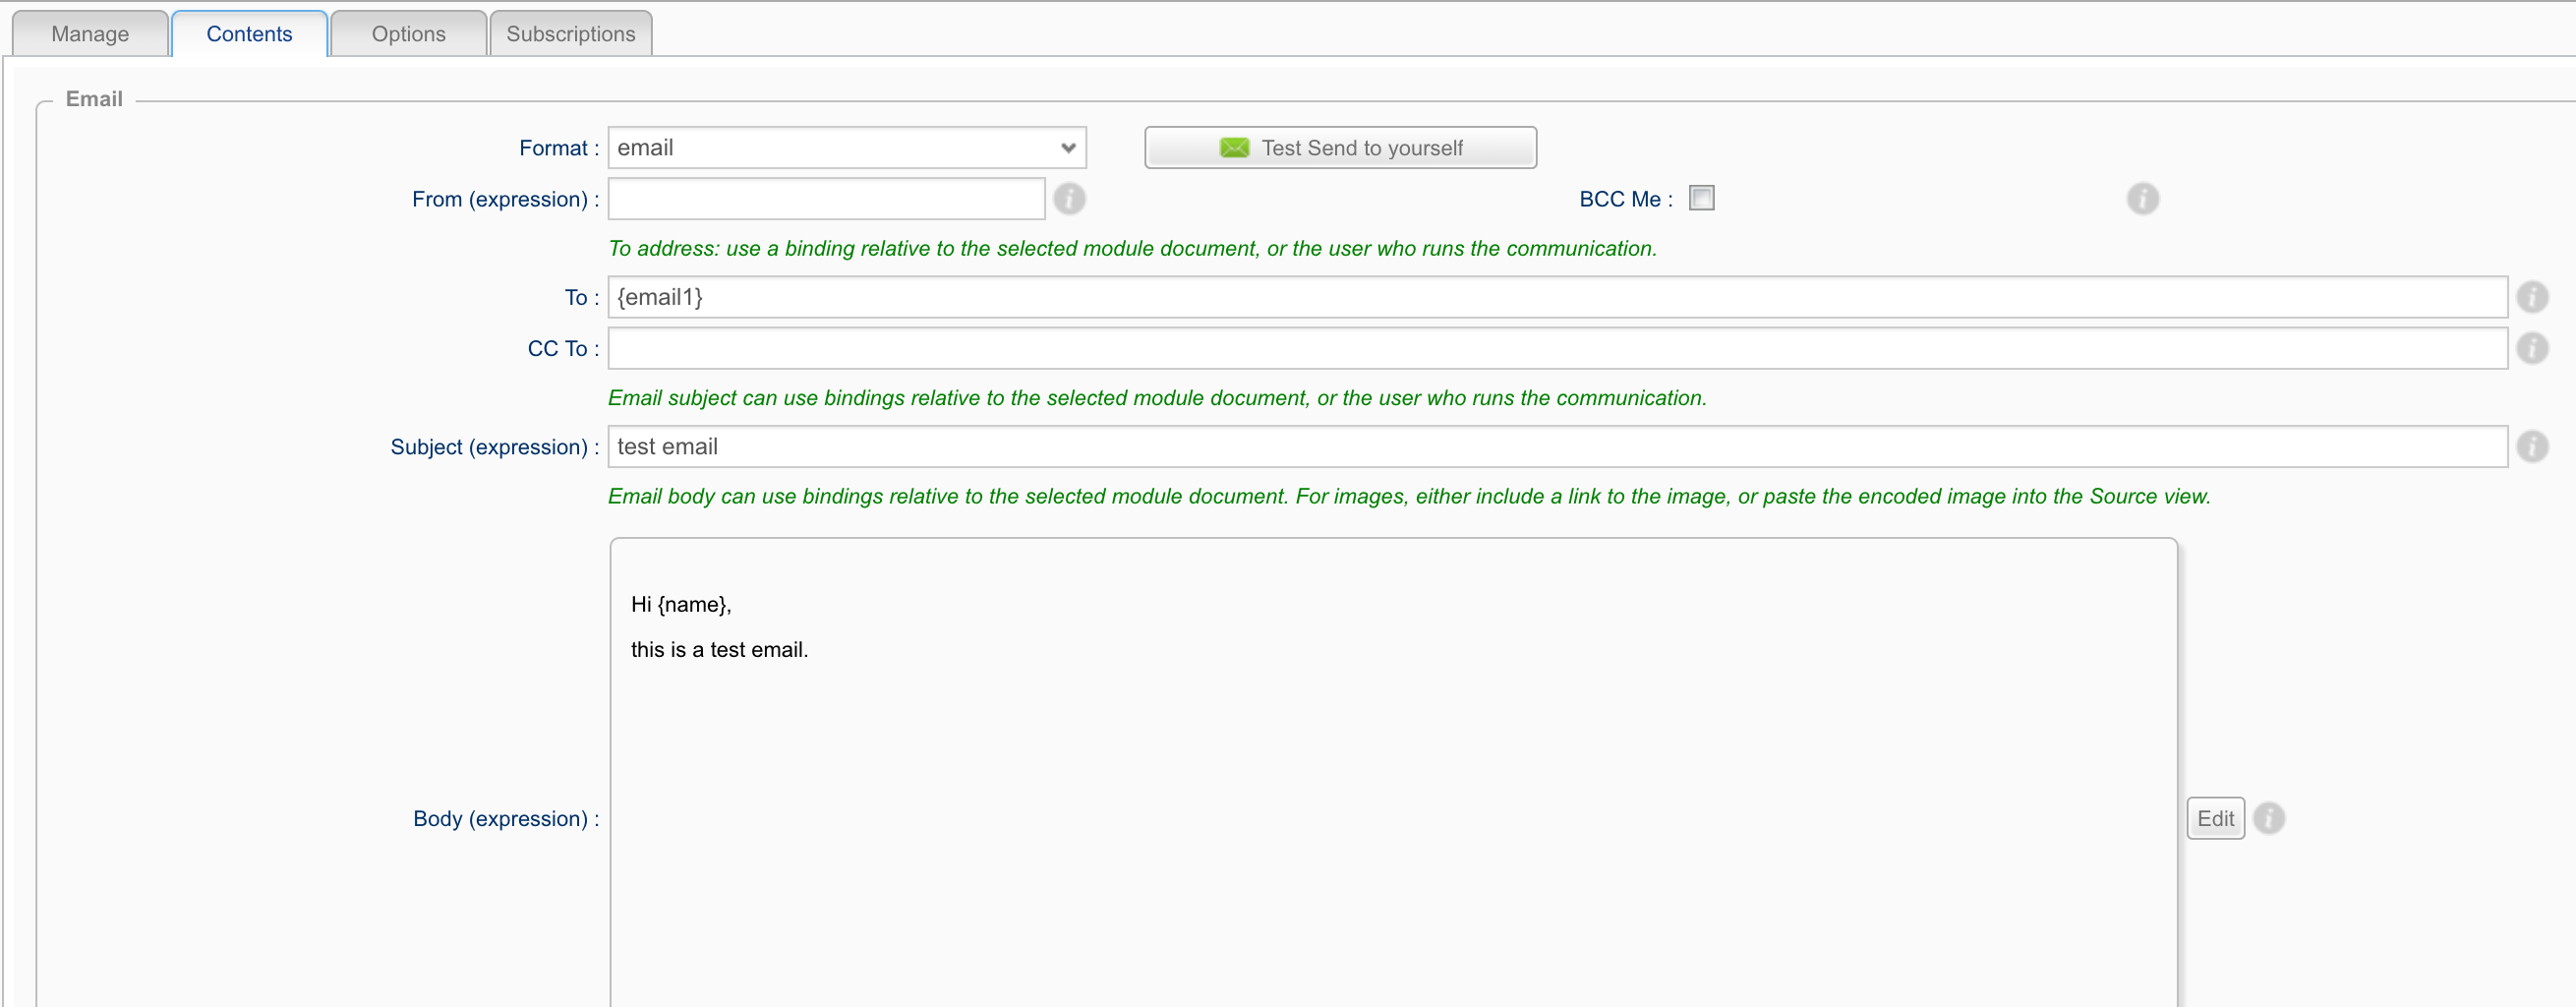
- Attachments can be added from the
Optionstab, but for now return to theManagetab - Click
Send Now - A new background job will be initiated to send your email immediately in the background. The results of the job can be checked from the
Jobsscreen.
Editing an existing Communication
When you have existing Communcations in your application and wish to make changes to the content of the email.
Prerequisites: Your application has at least one ad-hoc or system communication defined
- Login with a user which has the
ContactManagerorSecurityAdministratorrole - From the admin menu, select Communication->
Communications - Open the communication you wish to edit
- Select the
Contentstab - Modify the
ToorCC Tofields if you would like to change who receives the communication. This can be an expression. - Modify the
Subjectand/or theBodywith any desired changes. These can contain expressions. - Click
OKto save the modifications